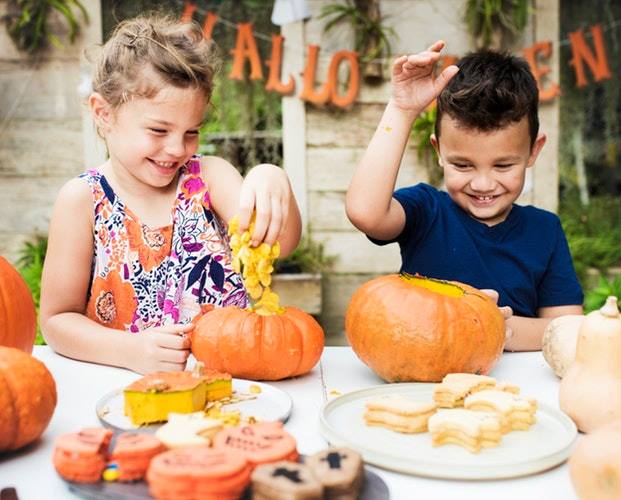
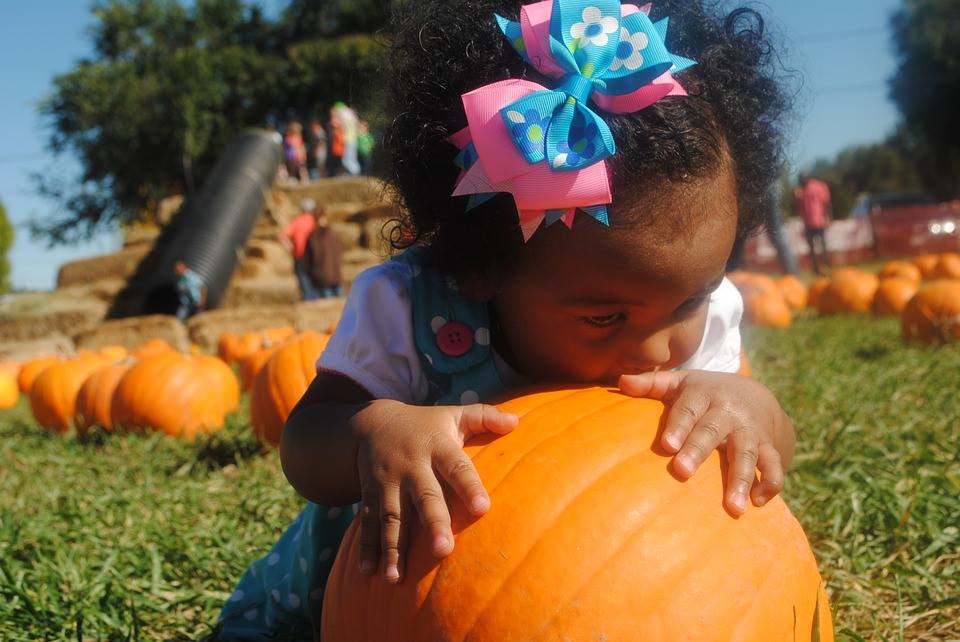
Fall is such a fun time. From the change in the weather to the leaves turning colors, and of course Halloween.After almost 15 Halloweens as a parent, and some research, I have gathered a few tips and tricks to picking out the best pumpkin for carving.
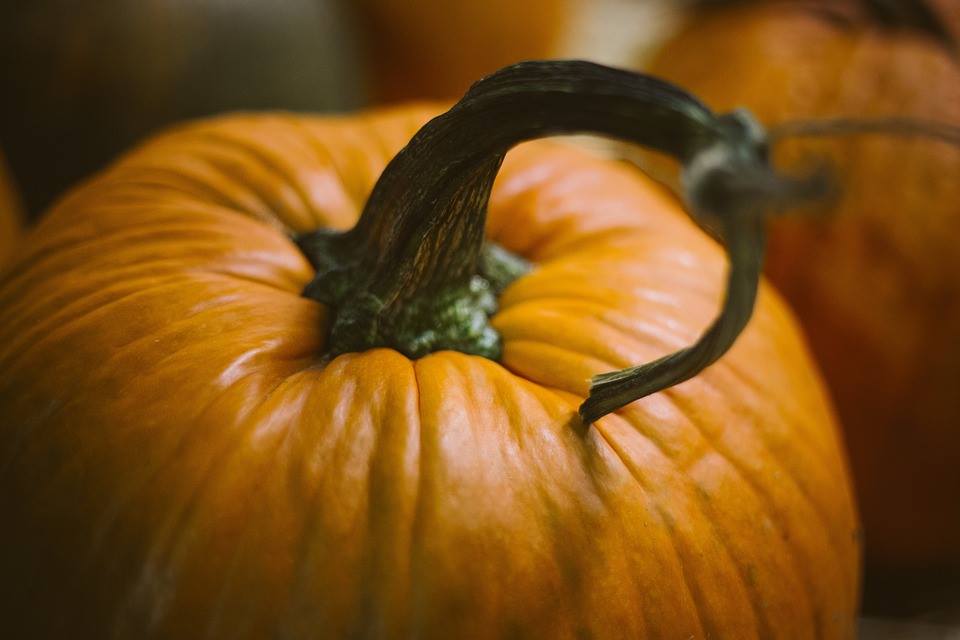
- Pumpkins come in all kinds of colors, however more traditional pumpkins are orange all over. One that has a significant amount of green can mean there is a problem.
- Look for a stem that is green. It’s more fresh, and will not seep out water as fast. (When this happens, shriveling occurs.)
- Pick it up and tap it: It should feel sturdy. When you tap it, you should hear a hollow sound. The louder the sound, the better the pumpkin.
- Check the coloring: Choose one that has consistent coloring throughout.
- Look for bad spots: Try to choose a pumpkin without any scratches, bruises, or dark spots.
- Don’t ignore the scratches or wounds. Open cuts will cause it to deteriorate faster.
- Apply pressure: Flip the pumpkin upside down and apply pressure with your thumbs. If it’s not completely sturdy, the pumpkin isn’t fresh and will rot quickly. If it feels spongy or soft, move on to the next one.
- Set it down: Make sure it sits flat! (Unless you want your jack-o’-lantern to sit a little crooked.)
- Carry it from the bottom: Don’t carry it by the stem — instead, cradle it from the bottom or tote it home in a bag.
- The perfect pumpkin will be one that your child loves, so no matter what, have fun with it.
When you get them home, wash your pumpkins in a bleach solution. (1/2 cup bleach for every 4 1/2 cups of water.)
This will help reduce rotting and help preserve them until you are ready to carve them.